It turns out that most fruit trees have a very similar structure. This similarity can be taken advantage of by splicing different trees together thereby creating your very own fruit salad tree. The limits are endless, from citrus like lemons, limes and oranges to many varieties of apple on the same tree.
1. First decide what kind of fruit you are most interested in growing. While it is possible to graft almost anything together (there is a guy who has 30+ fruits growing on a single mango tree!), you will have the best luck with fruits that are similar to each other. Some good starting projects are a citrus tree (Lemons, Limes and Oranges), Stone Fruit (Peaches, Nectarines, Plums) or what I started with...Apples. Or if this seems like way too much work you can buy a simple fruit salad tree for about $150. For some background on grafting fruit trees click here.
2. The first decision is the rootstock. This means choosing the root and main stem of your future tree. This is really important because the rootstock will determine the final size of your tree. Get a rootstock appropriate for your use that grows well in your area. I decided to go with a dwarf fuji apple tree because I am growing my tree in a wine barrel and don’t have too much room.
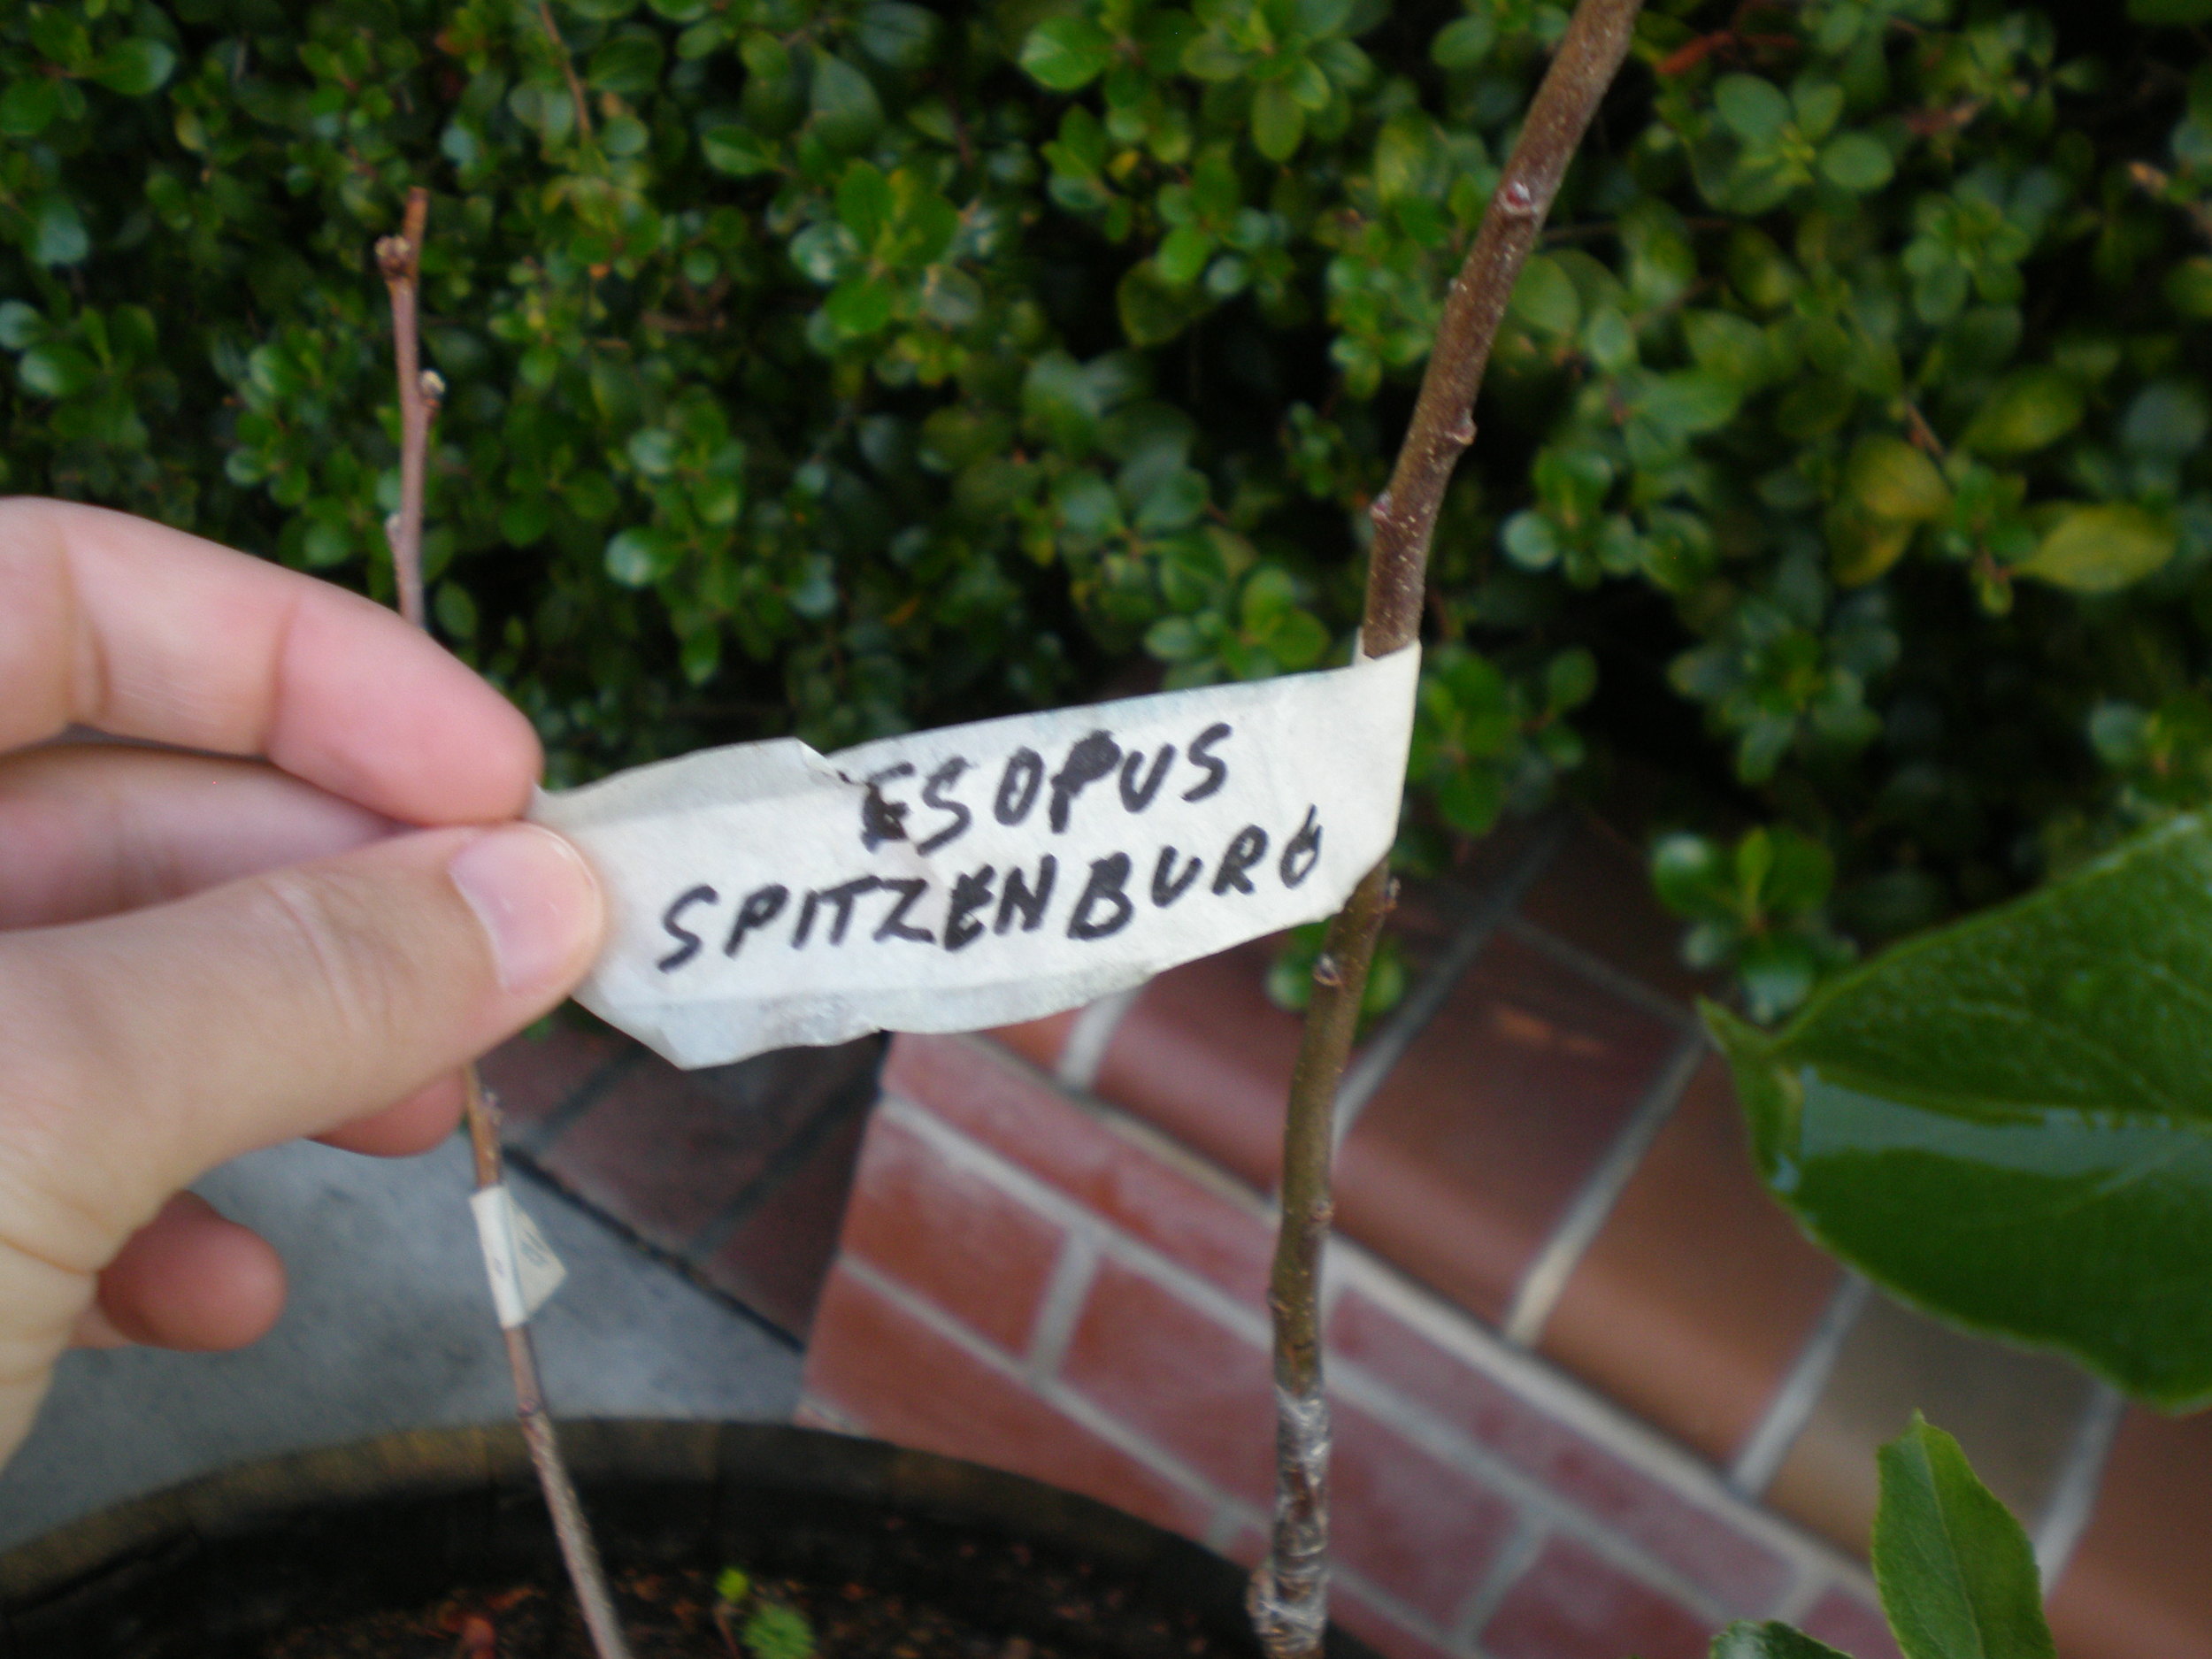
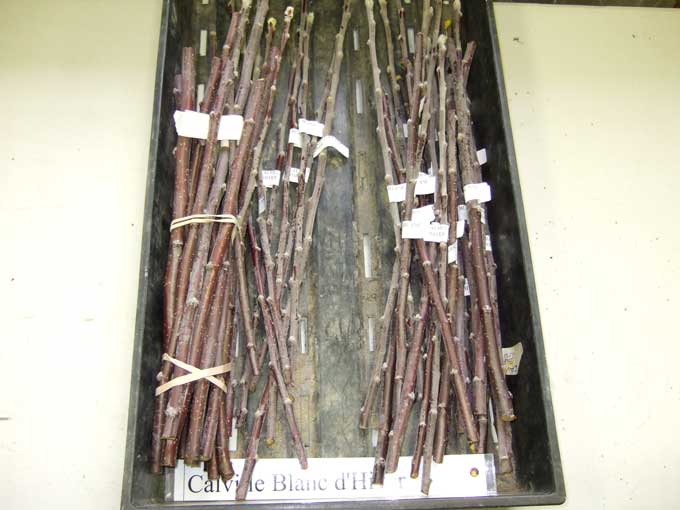
3. Once your tree has 5-6 main branches off of the trunk you can begin planning out your tree design. Each branch can be spliced with what you eventually want to grow. Keep in mind that not all grafts will take and grow. I decided to go with 5 different apple varieties varrying from the brown Zabergow to the delicious Margil which was Thomas Jefferson’s favorite type of apple. There are hundered of varieties of apple. The easiest way to access these varieties is to purchase small branches from these trees called scions online or ask a freind if you can have a branch from their tree.
4. Scions are harvested from trees in winter and while technically alive, are dormant. If kept dark, dry and cool, they can stay dormant for months. Ideally you want to graft apple trees sometime before spring but after winter has ended, so some time in February or March is ideal.
5. Once you have decided which scions will graft where you have to prepare the branch and scion. The easiest way is by creating a groove in the main branch and then cutting the scion to fit snuggly into it. The deeper the V you make, the greater the contact between the two pieces of tissue will be and the more likely your graft will survive. Before cutting make sure you have a very sharp and sturdy knife. You will also want to wipe your knife down with rubbing alcohol to sterilize it. This prevents your tree from getting any nasty diseases.
6. Now for the grafting. We are going to use a wedge graft but there are many other types that will work. Carefully cut the main branch leave a little room form the main stem so that you can start over if you mess up. You are going for a very deep V cut into the branch. The part that actually delivers the nutirents is just under the skin of the branch and is called the cambrium. Now try to make a complimentary V cut into the scion. If all has gone right you should be able to put the male V cut end of the scion on the female V cut in the branch. Make sure this is a snug fit by trimming the end with your knife. You want to make sure that a large portion of each part is flush with particular attention the the region just below the skin. Be sure to cut away from you, as it is pretty easy to cut right though the branch and you don't want your finger to be on the other side!
7. If things look good, you will want to hold the two parts together so that they can fuse over time. The ideal material to cover the graft union would be waterproof, sterile, flexible and clear. 1/2 inch strips cut from plastic sandwich bags do the trick nicely. Take a strip and start wrapping it around the main branch, double it over on itself to secure it, then completely cover the grafted area wrapping in one direction. Go up then down over the graft again, but this time a bit tigheter. You will notice the plastic will strech quite a bit. Now tie it off to secure it.
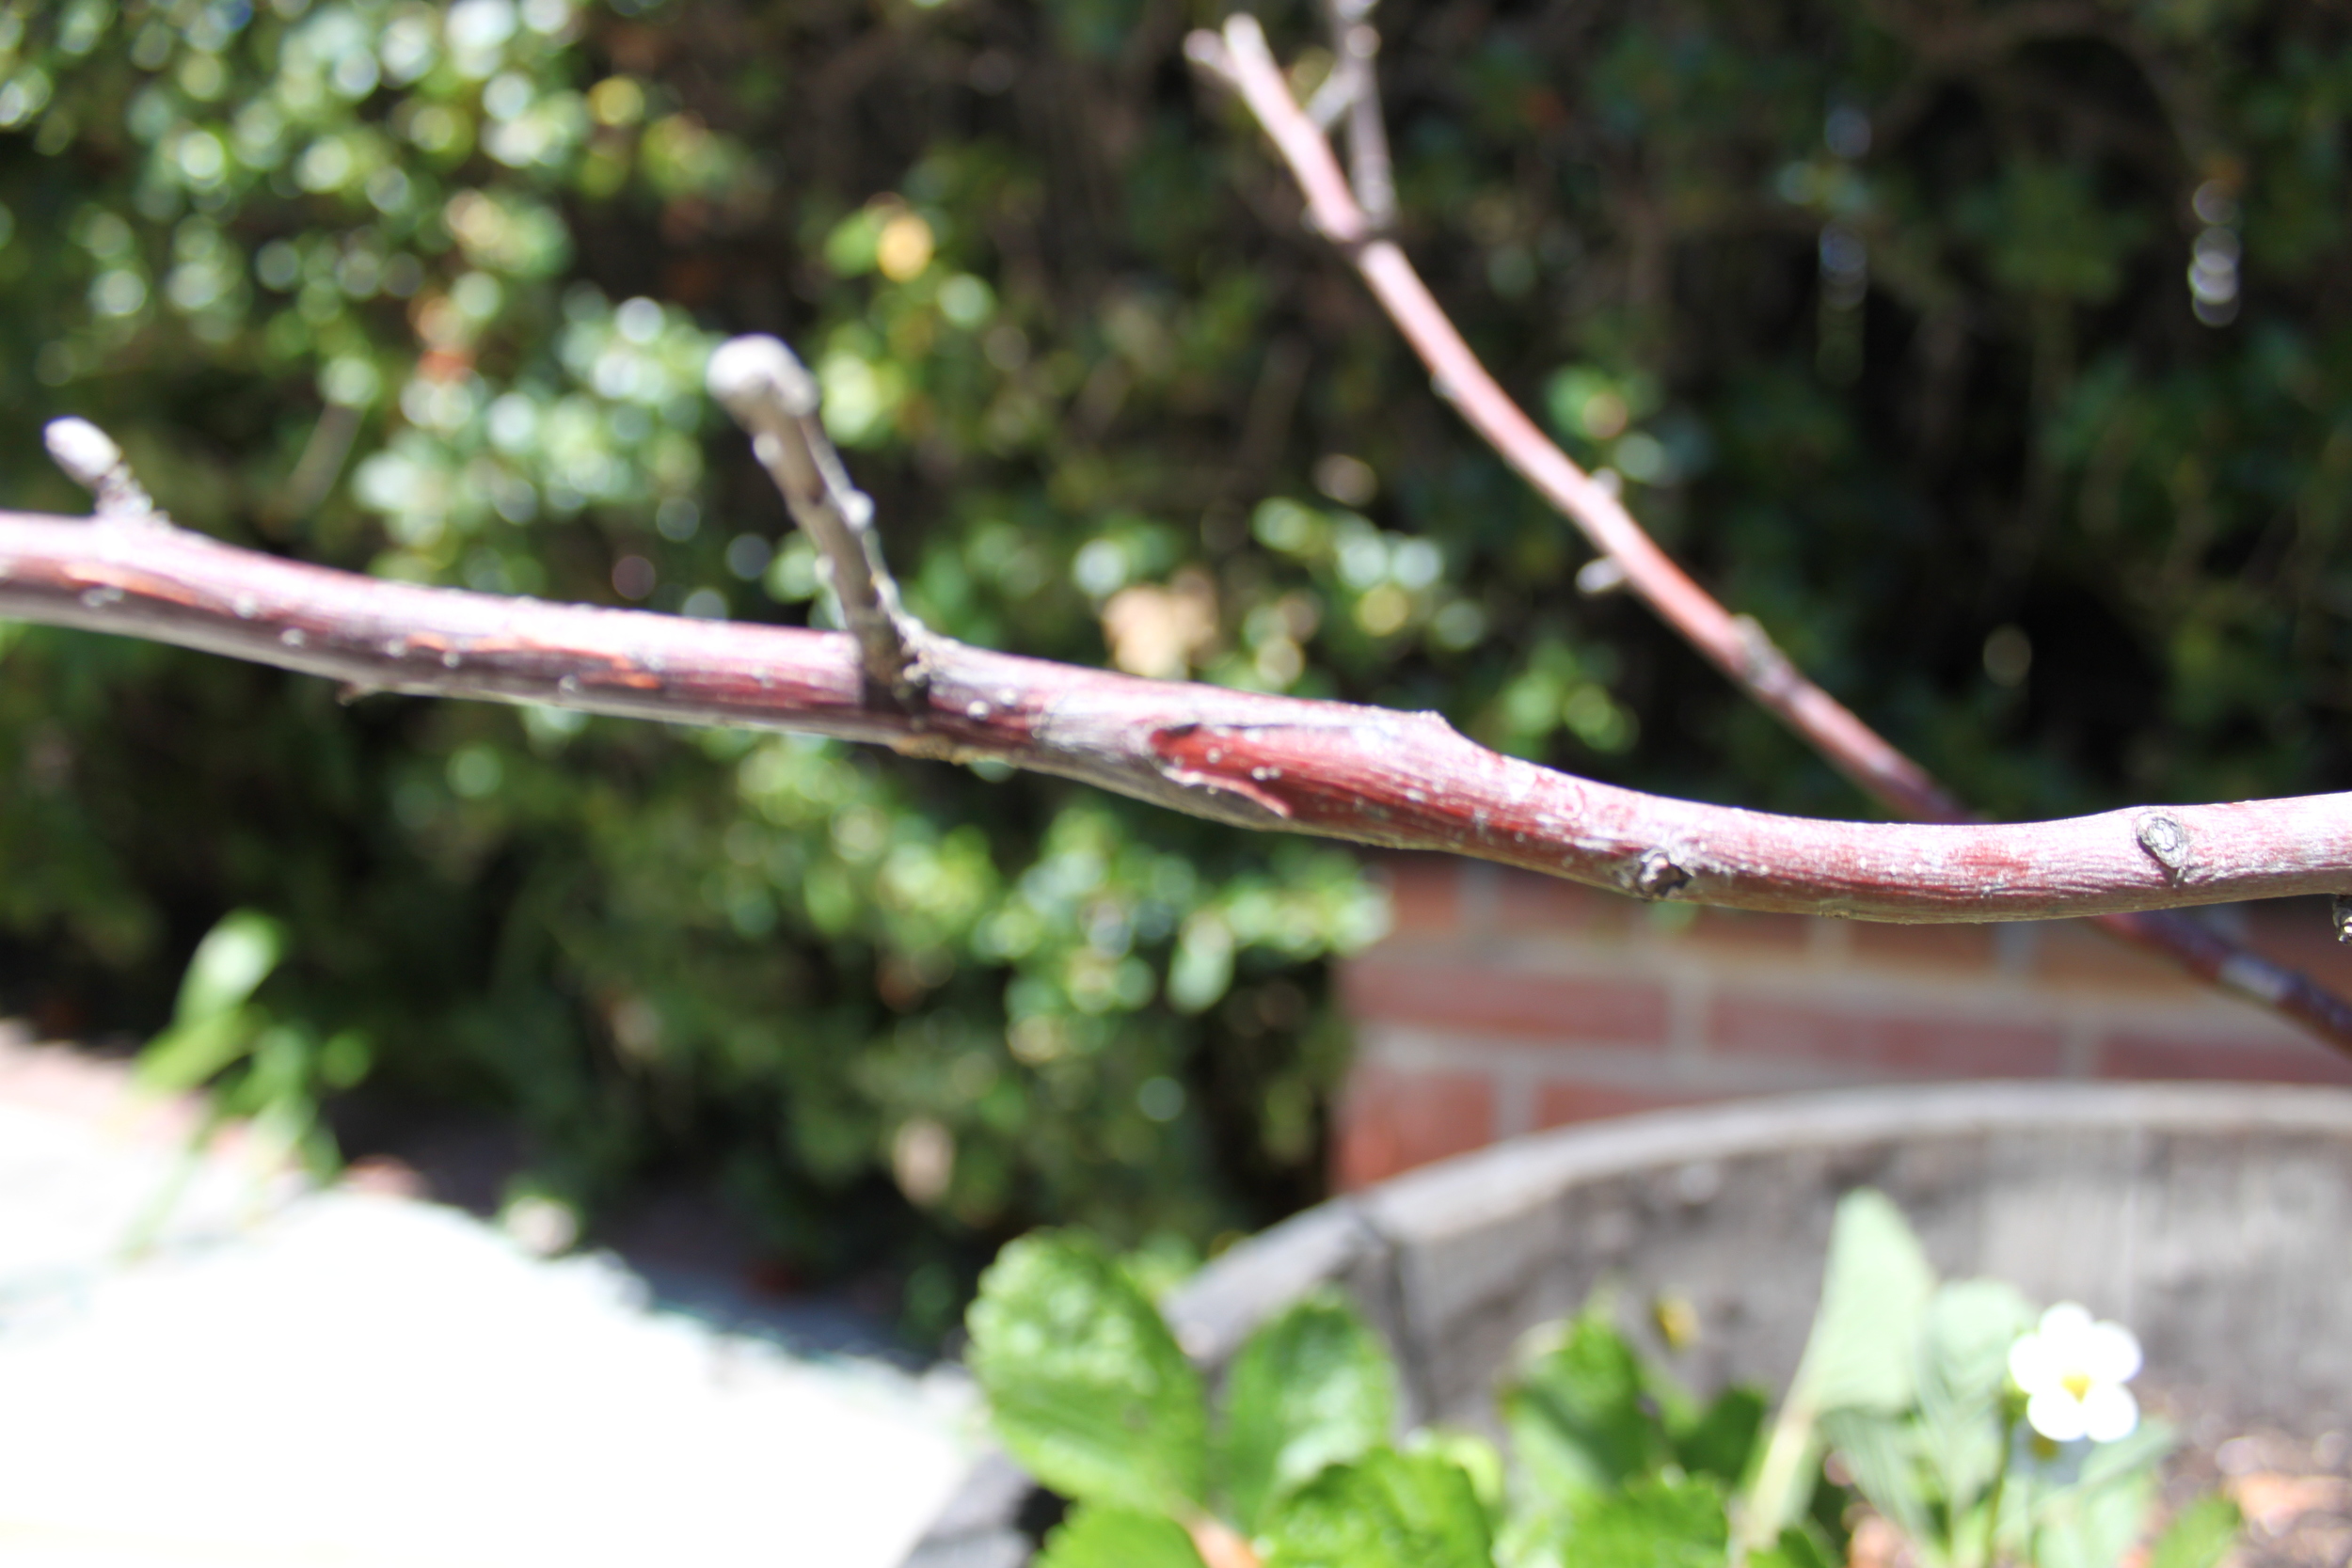
8. Now you wait. If things went right, your scion will begin to grow. The first year you can expect some new leaves and some growth from the tip. If you don’t see this after a few months, you graft likely didn’t take. Over time, the plastic wrap will split as the branches get thicker. Just leave it alone and in a year or so it will have fallen off.
9. Now that you have a few grafts on your tree and they are all growing nicely, you want to encourage these grafts to become main branches. To do this, cut away all other branches except one or two (in case you want to graft more things on later). Over time these grafts will grow out and produce fruit allowing you to have many types of fruit all on one tree.


