Have you ever seen an amazing looking painting in a gallery and asked how much it would cost to buy it? Normally if it truly beautiful it has an outrageous price attached to it. This tutorial will teach you how to make your own version of the work of art you covet at a fraction of the price. All you need is a photo...it doesn’t even have to be a good one (I took one with my iphone from about 20 feet away).
1. First you need to find a painting you love. This is the hardest part by far. Now take a photo. Try to get the nicest photo possible but, it really doesn’t matter too much. This beauty caught my eye while I was in hawaii, it had great colors, was relaxing and I love the two canvas effect of extending the coastline. I know it is too small to see, but the price tag hanging off the smaller canvas says $3,700.00....Yikes!
2. Open up your photo in Photoshop or a similar photo editing program. You need to change the perspective of the image so that it looks like you are looking straight at the photo. This normally means adjusting the photo with the perspective and skew function under free transform.

3. Now resize your image so that it is the size of the canvas you want to paint on and make any last adjustments while you can edit it. You could change colors, delete things you don’t want etc. It has occurred to me that at this point you could simply go online and have it printed onto canvas at life size. But it will look printed and is a cop out so don’t go this route unless you have absolutely no artistic skill.

4. Now go to The Rasterbator and upload your image. This will transform your image to the size you desire and will allow you to print it out on standard computer paper. Print these files out, cut off the margins if you want, and tape them together using invisible tape so that you have a print out of what your painting will look like. make sure there are no seams or gaps in your painting. Tape the front of the painting (the printed side, not the white side...you will see why later). If possible print these out o tracing paper, or the thinnest paper you can get you hands on.
5. Now take your print out and turn it over so that you are looking at the white pages all taped together. With a regular pencil trace all of the notable elements of the painting. If the paper is thin enough you can do this easily, if not you might have to hold the pages up to a window or use a light box so that you can see the painting. Push hard with the pencil so that the lines are pretty dark. These are the lines that will be transferred to your canvas in the next step.
6. Now carefully place your print out printed side up onto your canvas. Tape it into place so that it looks the way you want your finished painting to look. Now using a dull pencil retrace all of the lines that you made in the last step. You can rub pretty hard here and don’t have to be too careful. The idea here is to rub the graphite off of the white side and transfer it the canvas.
7. Now remove the print out and if you did it right you will be left with a life size outline of your painting. You can use pencil to fill in any parts that didn’t transfer to your liking. Don’t throw your print out away as it is useful to get colors, shading ect right later on. Now comes the hard part...painting.
8. I find it helpful to paint the background first and to paint each successive element in the order that they approach the foreground. Having the print out in color is great so that you can mix your colors and actually paint them onto the print out first to see if the colors match up. I prefer to use acrylics as they are cheap to buy and you can easily cover up any mistakes with more paint once they have dried. Another trick I use is masking tape. You can add masking tape over elements you don’t want painted to protect them. Then when you peel the tape off you will be left with a straight line.

9. Keep painting! When you get a color right it is a good idea to write down how you mixed it up so that you can make more of it later. I also like to paint the sides of the canvas a it looks cool and will save you from buying an expensive frame later on. Use the print out as a reference, because it is to size and to color it will guide you thorough any parts that might be difficult. Take your time so that it turn out the way you want and you will be rewarded with the painting of your dreams! This bad boy took me about 20 hours to finish.

The Real Deal
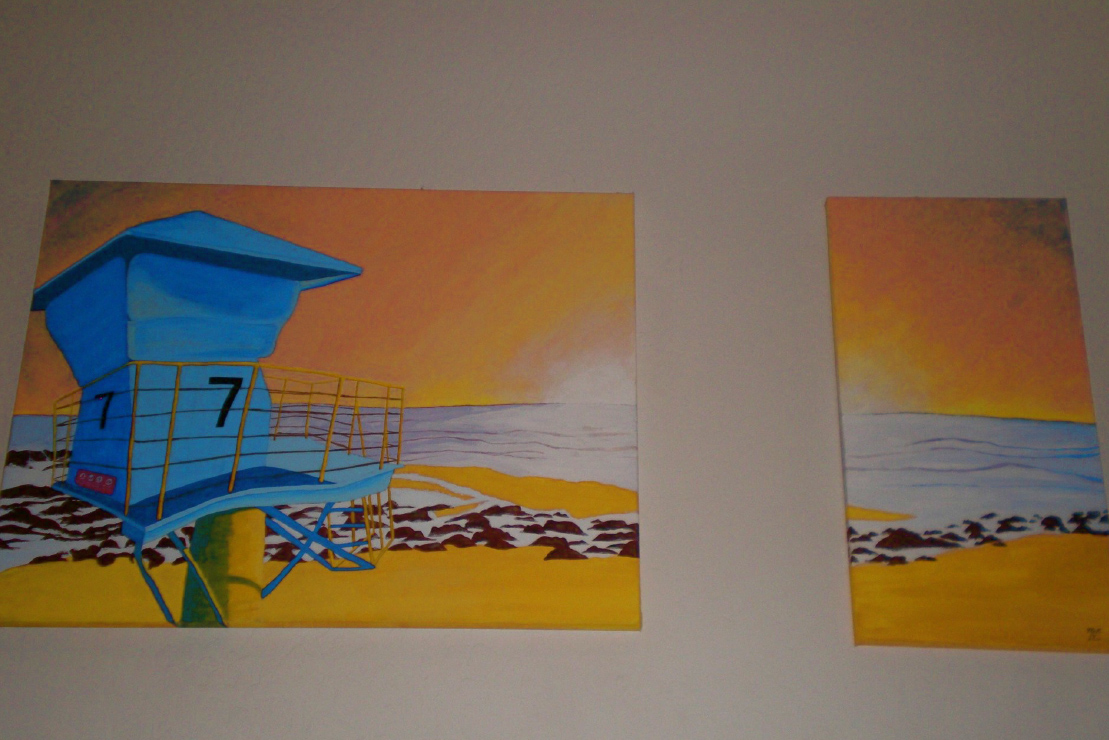
The Counterfiet
10. Put it on the wall and admire. Not only will it look beautiful, but you can honestly tell everyone that you painted it yourself.
