With some basic tools you can build an inexpensive garden that requires almost no maintenance, is dirt-free and will produce double the yield of a traditional garden. I’m talking about hydroponics and it is easier and cheaper than you might think to build you own system. With these simple instructions you can learn how to build a hydroponic garden.
For a complete parts lists including costs and where to buy everything you see below click HERE
1. The first thing to do is get some seeds to grow. You can buy some small plants from a hardware store if you like taking shortcuts. I bought some seeds at a seed bank that has great variety of hard to find plants called Baker Creek Heirloom Seeds.

2. Start your seeds by placing them in between 2 damp paper towels. Cover them with a plate and put them in a warm spot. I put them on top of my fridge. Make sure to write down which seed is which. Ideally you will start this 3-5 days before you begin building. If you really want to jump start your seeds consider using a seedling heating mat.

3. Next Begin making the saw horses. You can simply build them out of 2x4's and saw horse clamps. I cut mine to 4' each but you could make them whatever height you want. Once cut you need to insert them into the clamps. I found it easier to insert them in if I bet the clamps a little bit with my pliers. Once in you can nail them into place.

4. Measure the tube so that you have evenly spaced marks in the center of the tube. These tube can be hard to find, but if you can't find them at a hardware store you can always order them via the Amazon link. Make sure to leave at least 6 inches at each end so that you can install the rest of the pieces. I made 8 marks for 8 plants per tube but you might do better with 6 depending on what you end up growing. Next take the 2 3/4" hole driller. You will need to drill this in reverse on your drill or it will catch. Drill out the holes. Once done, take some sand paper and remove any PVC fragments. Hose down the tubes to remove all PVC fragments.

5. Take a cheap soldering iron and 24 party cups. Heat up you soldering iron in a well ventilated place.


6. Melt a bunch of holes into the cup. Don't make any holes in the top part of the cup, that will eventually stick out of the PVC as this might let in light and encourage algae growth.


7. Add some pre-washed expanded clay pellets to the bottom of the cup ( clay dust can clog up your system). Then add in a grow wool cube that has bee dipped in water that has a bit of lemon juice or another acidic solution in order to create a neutral pH environment. Ideally the top of the grow wool cube will be just below the lip of the cup. Then fill in the cup with more expanded clay pellets.


8. Get a submersible pump and attach a piece of 1/2 inch raindrip tubing. Make sure the tube is short enough to fit inside of your container when the lid is closed. If you want to get wet, you can add some water to cover and test your pump out. The pump doesn't have to be very powerful ( I used a 264 Gallon per hour pump)


9. Next insert some small raindrip adapters into the 1/2" tubing. I used 3 PVC fence posts, so I needed 3 small water tubes, if you have more then insert more adapters. If possible put them all at the same height so that they have equal water flows. Then insert the 1/8" raindrip tubing after measuring out 3 ~ 8 foot lengths. You want these tubes to be long enough to reach to the end of the PVC fence posts. You can always cut off some length, but you can't add more so be careful. Finally seal the 1/2" tubing with an endcap.

10. Drill a hole for the small raindrip tube with your drill in both the lid of the tub and into the end of the PVC fence post. Leave a couple of inches free so that you can put the end cap on to seal it up.


11. Drill a hole in each PVC tube for the air hose. Insert the air hose and put it onto a 4" to 6" airstone. Now plug all three air lines in to the adapter and attach that to an air pump. In my recent rebuild I used a dedicated pump for each PVC tube and 2 airstones per tube spaced evenly. I think this helps as the system was limited by the amount of oxygen before (with plants growing best near the airstone) and now the plants are growing even faster.


12. Now that we have taken care of putting the water and air in one end, we need a way for the water to flow out. We want the outlet to be bigger so that it doesn't clog when the roots start growing. The placement of the outlet hole is very important as it will determine the water level inside of the PVC tube. Drill a hole in the end cap about an inch from one end and then widen the hole until the 1/2" raindrip tube fits in snugly. We will glue this on later, but before we do, we need to add a little more security.


13. The water running down the outlet hose along with the weight of the outlet hose itself will put pressure on the endcap causing it to fly off unless it is secured. This can be fixed by drilling a small hole through the top of the end cap and into the PVC pipe. Next screw in a small screw to secure the end cap.

14. The first time trying this out I sealed the ends with liberal amounts of hot glue. While this will work, it is far from ideal for a variety of reasons. Instead use 100% silicon sealant or silicon caulking. Apply a ton the the seams on the inside then seal it up. Next apply a ton to the outside seams. Once it is fully dry, do a water test by filling up the PVC tubes with water. Find the leaks (there are always one or two) and add more sealant. Repeat until it is watertight.


15. Now all that is left is to make some holes in the tub for the outlet hoses so that the water can recirculate back to you plants. You also need to make a hole on the side for the plug to the submersible pump. Don't make holes in the lid like in the photos. Most lids are pretty flimsy as is, so it is better to make all holes in the upper side of the reservoir. Time to see it things work as they should. Fill it up with water and make sure the air and water pumps are doing what they do.

16. At this point it is a good idea to clean things up a bit. One essential is to waterproof your electronic components. I gathered all of the connections and and put them though a hole I made in a heavy duty ziplock bag. Then I zip tied the cords together and zip tied pastic around the hole to seal it up. With this set up you can still access your plugs and you won't get electrocuted either which is quite the deal.

17. Add some hydroponic fertilizer to your system. Start with just a little as your seedlings will need time to adjust. Most fertilizers will have instructions about how much to use, let that be your guide. I used expensive liquid fertilizer at first, but now after a few years of trial and error, have switched to an inexpensive powdered fertilizer. Use what you want, but keep in mind that liquid fertilizer with lots of particulate matter will clog up your system with sludge. A good hydroponic fertilizer like this one would be a good place to start.

18. Add a seedling or two to each grow wool cube or alternatively start your seeds in the cubes for a few days until they sprout. Once they look sturdy, cover each grow wool cube completely with expanded clay pellets to prevent algae growth.
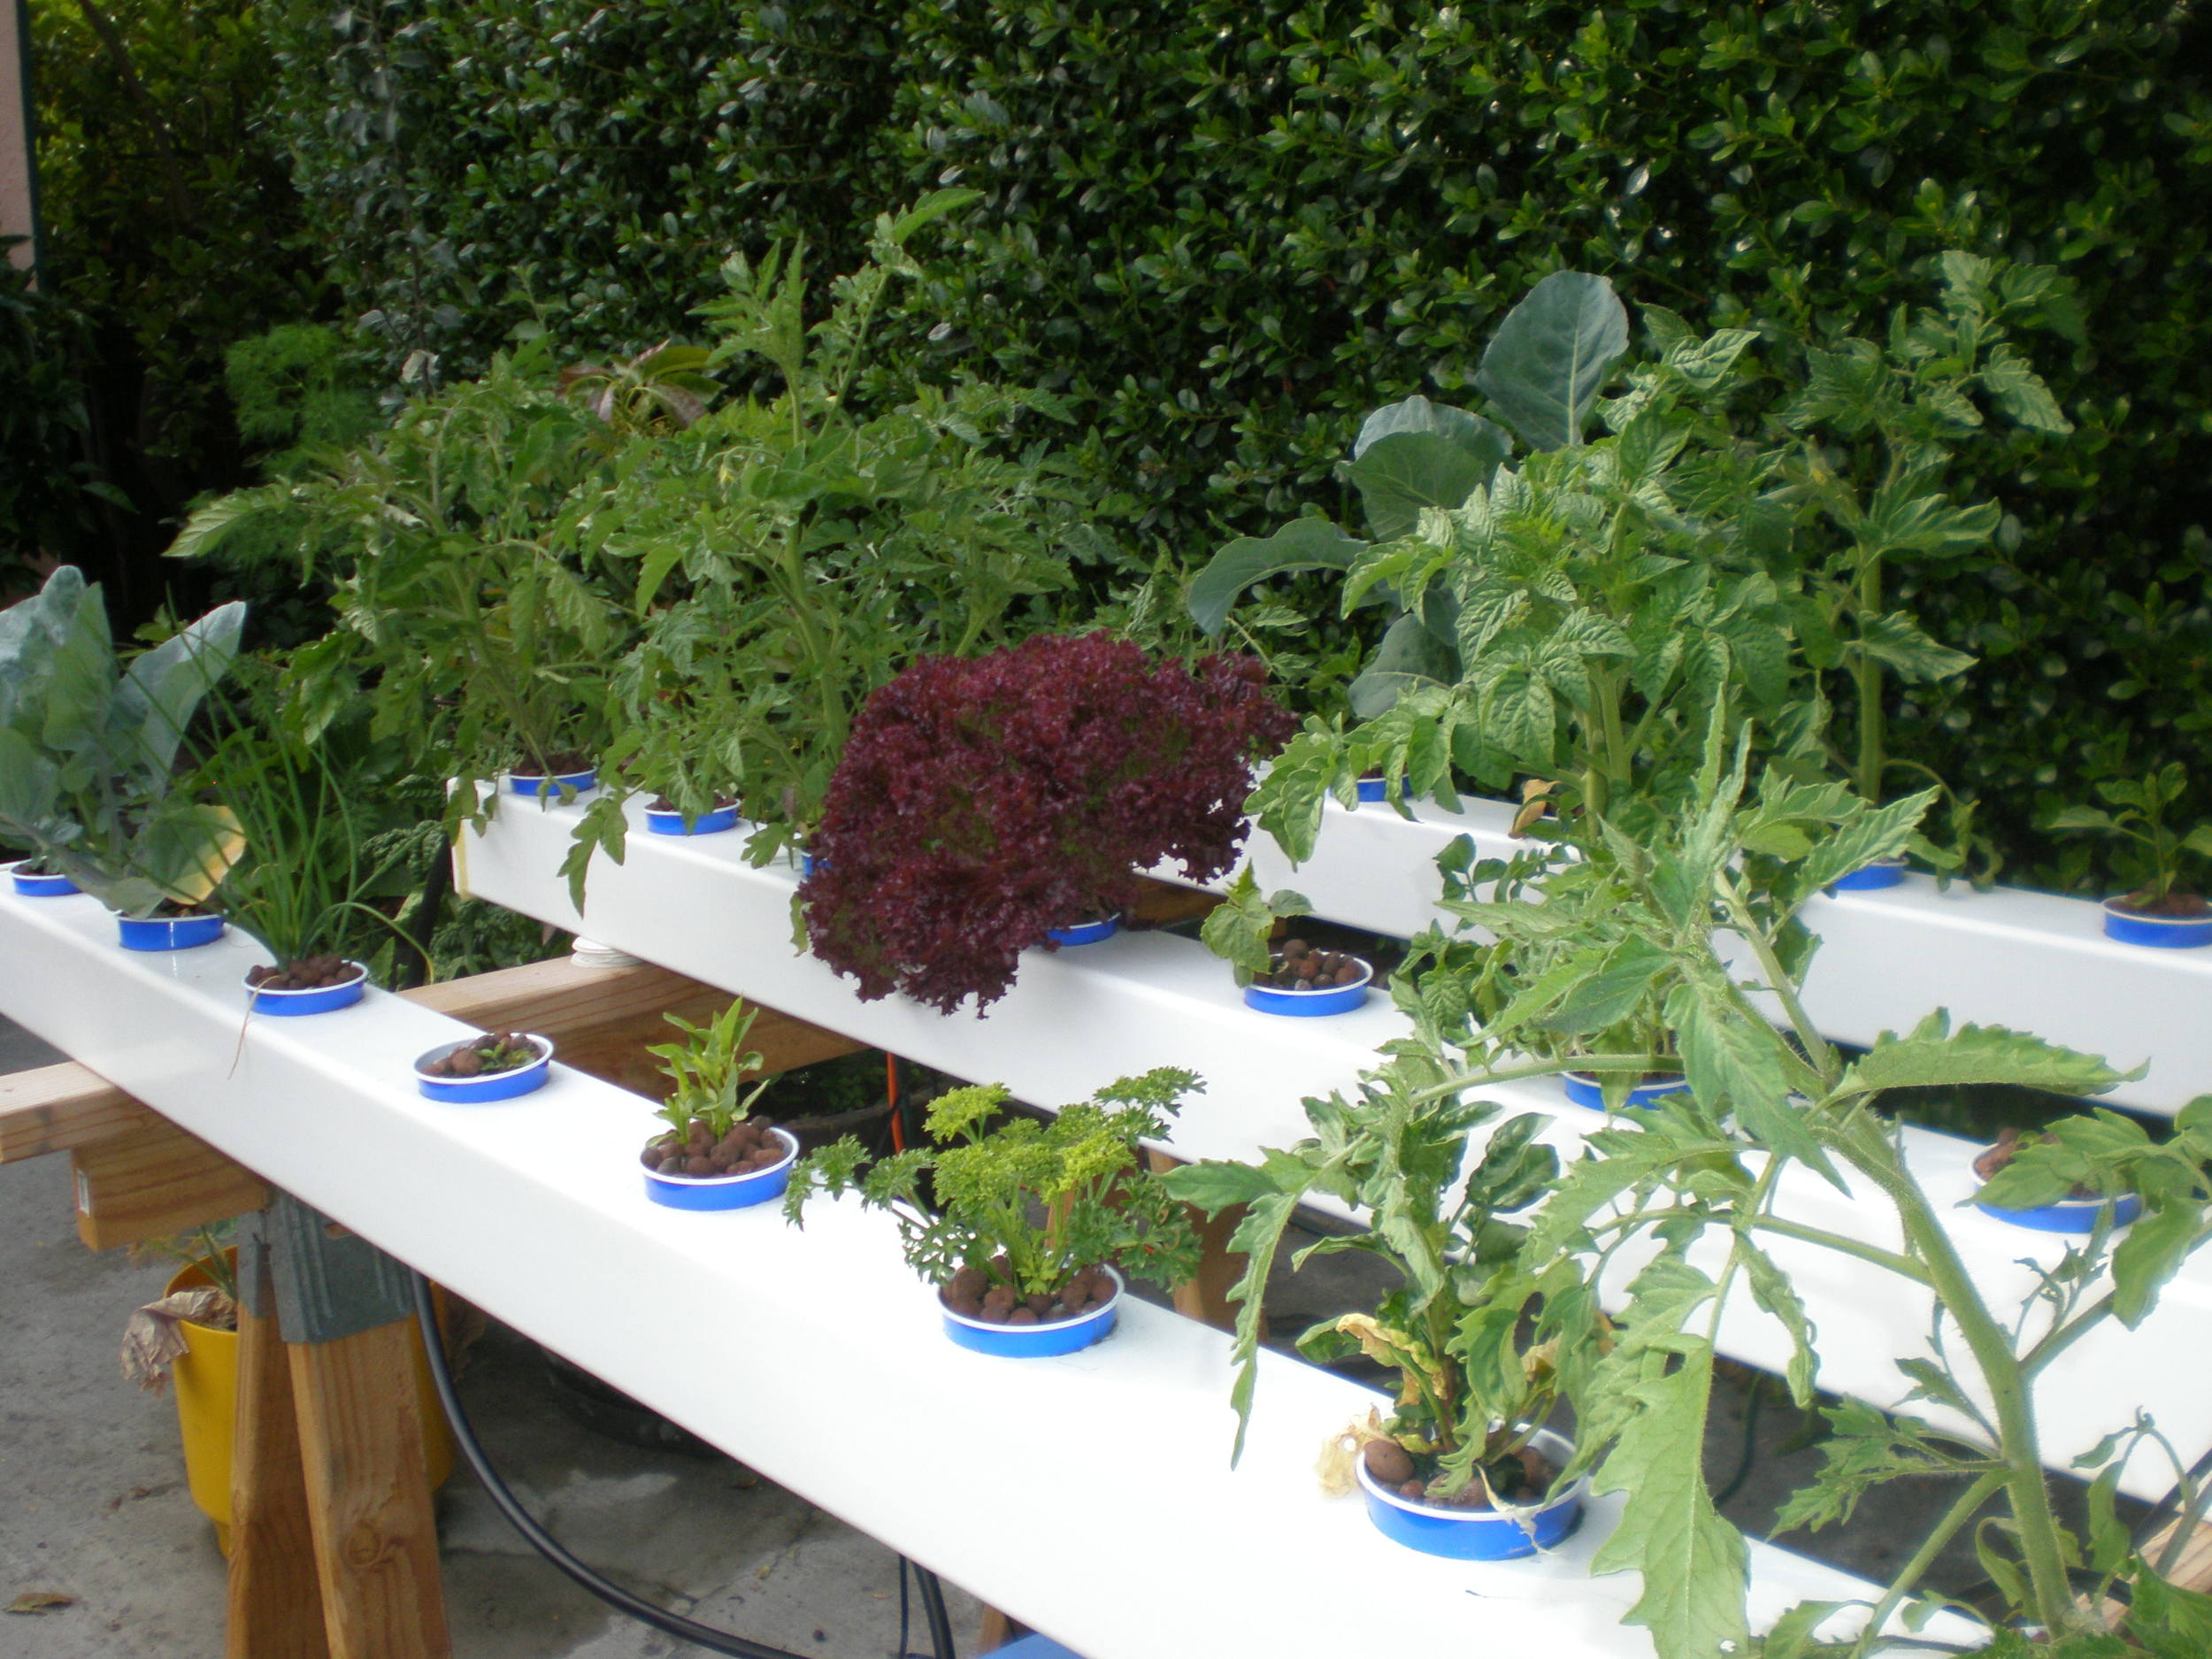

19. Make sure the system doesn't run out of water and that you add fertilizer as recommended. Then enjoy the fruits of your labor. This system is reliable and sturdy. Even if the power goes or the water reservoir runs dry you will be ok for a couple of days. This thing really produces! The tomatoes above were one of many harvests from just a few plants. You will be amazed how big your plants get compared to the same plants planted in soil. More tips and tricks including what kinds of plants can be grown can be found on the other pages.
For a complete parts lists including costs and where to buy the above item click HERE
